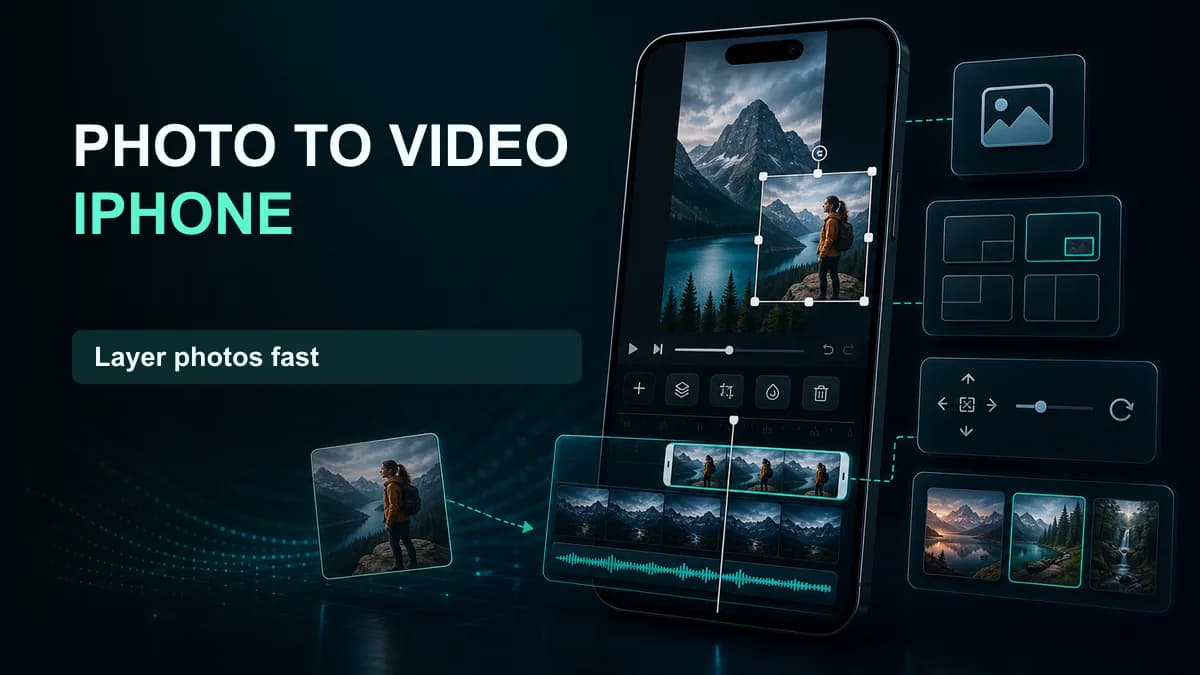













To add a photo over a video on iPhone, open an iMovie Movie project, place the playhead where the image should appear, tap Add Media (+) > Photos, choose the image, tap More (•••), and select Picture in Picture. Resize and reposition it in the viewer, then drag the overlay edges on the timeline to set its duration.
Choose Cutaway when the photo should replace the full picture, Split Screen when both sources must stay visible, or add photos to the main timeline for a slideshow. The planner above calculates a consistent duration per image.
Choose the correct iMovie photo mode
| Goal | iMovie mode | Result |
|---|---|---|
| Show a logo, screenshot, or supporting image over video | Picture in Picture | Movable, resizable photo overlay |
| Replace the video temporarily with a full-screen photo | Cutaway | Photo fills the frame while base audio can continue |
| Compare image and video side by side | Split Screen | Both remain visible in divided frame |
| Remove a color background from an asset | Green/Blue Screen | Chosen color becomes transparent |
| Build a photo montage | Add photos to main timeline | Sequential slideshow with crop/motion controls |
The three-dot More menu appears after selecting media. Tapping the plain plus may add the image directly to the main timeline, which is why many users cannot find a movable overlay afterward.
Add a picture-in-picture photo
- Open iMovie and choose Start New Project > Movie.
- Select the background video and tap Create Movie.
- Move the white playhead to the intended photo start.
- Tap +, open Photos, and choose the image.
- Tap ••• under the selected image, then Picture in Picture.
- Select the new overlay clip on the timeline.
- Tap the position control in the viewer, drag the photo, and pinch to resize it.
- Toggle the border if the image needs separation from the video.
- Drag the clip left or right to align its start and drag either edge to change duration.
- Play through the entry and exit before exporting.
Apple’s iMovie guide also documents controls for swapping split-screen orientation, adjusting its divider, setting the visible area through the zoom control, and changing green/blue-screen strength.
Add a full-screen cutaway photo
Use a cutaway for evidence, a document, an old photograph, a chart, or a visual that needs the full frame. Follow the same Add Media steps but choose Cutaway from the More menu.
The base video’s audio can continue, making the image function like B-roll. Align it with the exact spoken reference and leave it long enough to understand. For a document, crop to the relevant section and enlarge text for phone viewing.
Create a photo slideshow with video
Add photos to the main timeline in story order. Use the planner to divide the desired coverage across the image count. For each photo:
- Set duration by dragging the clip edge.
- Use the zoom control to correct crop.
- Adjust or disable unwanted Ken Burns movement when the interface permits.
- Keep faces, text, and horizon lines inside the frame throughout the move.
- Add transitions only after the order and timing work with straight cuts.
Place music after picture timing is stable. Match major changes to meaningful beats rather than forcing a transition on every beat.
Prevent iMovie from cropping the photo badly
iMovie fills the project frame, so a portrait photo in a landscape movie—or a landscape photo in a vertical project—can lose edges. Select the photo, open the zoom control, pinch to zoom out or reposition the visible area.
If the full image must remain visible, prepare it on a canvas matching the video ratio and add a background before importing. For example, place a portrait photo on a 16:9 blurred or solid background for a landscape movie. This preserves the complete image without relying on a crop that changes during motion.
Make the photo overlay readable
- Keep screenshots large enough to read on a phone.
- Remove private notifications, email addresses, tokens, and customer data.
- Add a border or shadow when the edges disappear into the video.
- Avoid covering faces, subtitles, lower thirds, and platform controls.
- Use one placement system across the video instead of moving every image arbitrarily.
- Leave the photo on screen until the related phrase or action ends.
For a logo or sticker, a transparent PNG can preserve the cutout. Inspect its edges over both bright and dark backgrounds.
Export and check the final video
Tap Done, then Share > Save Video and choose the required resolution. Open the exported file in Photos. Check the photo start, crop, placement, border, duration, animation, and audio at every overlay.
If the destination is TikTok, Reels, or Shorts, upload a private draft and inspect the safe areas. The platform interface can cover an overlay that looked fine in iMovie.
iPhone photo-video FAQ
Why did iMovie add the photo full screen?
The plain add button places it on the main timeline. Undo or remove it, add the media again, tap the three-dot More menu, and choose Picture in Picture.
Can I move the photo around the screen?
Yes, in Picture in Picture mode. Select the overlay, open the position control, drag it, and pinch to resize.
Can I add several photos over one video?
Yes. Repeat the overlay process and arrange each photo on the timeline. Avoid overlapping more layers than iMovie supports and preview transitions between them.