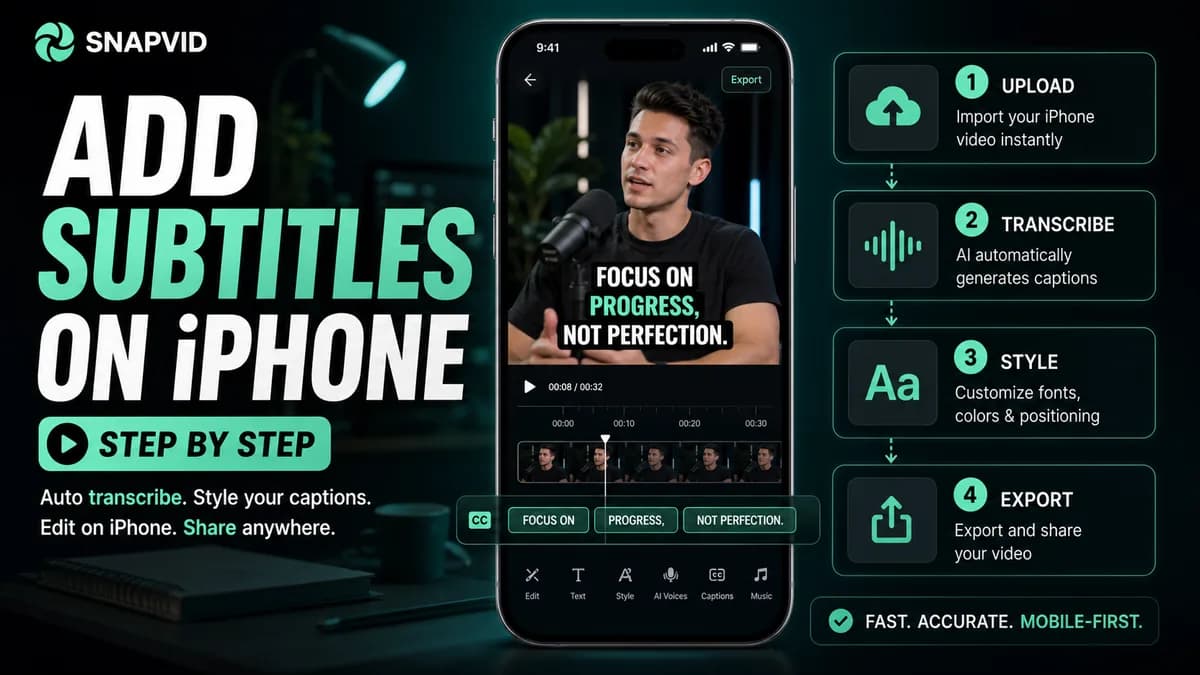













To add subtitles to an existing iPhone video, import it into a caption-capable editor, generate or type the subtitles, correct the wording and timing, choose a readable style, and export a new video. CapCut, VEED’s iOS caption workflow, dedicated on-device caption apps, and desktop tools can burn captions into the file.
The iPhone’s Live Captions accessibility feature displays text while content plays, but it does not add that text to an exported video. Apple Clips can create Live Titles while recording; it is not the same as captioning every existing file in Photos.
Use the cue maker above to split a transcript into readable cards before correction.
Method 1: use a dedicated iPhone caption app
Dedicated apps reduce the workflow to import, language, generate, correct, style, and export. They are useful when captions are the main job and the entire process must stay on the phone.
Before subscribing, test one clip and verify:
- Whether processing happens on-device or uploads media.
- Supported spoken and translation languages.
- Accuracy for names, numbers, and accents.
- Line-break, timing, and style controls.
- Watermark, resolution, frame rate, and export limits.
- SRT/VTT export if a subtitle file is required.
- Project deletion and media-retention policy.
An app claiming high accuracy can still create slow corrections if it lacks search, batch style, or precise timing.
Method 2: add automatic captions in CapCut on iPhone
- Open CapCut and create a new project.
- Import the video from Photos and add it to the timeline.
- Tap Captions in the bottom menu.
- Choose Auto Captions, select the spoken language, and generate.
- Play the video while correcting the transcript.
- Apply a base text style, then fix exceptional cards individually.
- Keep the captions away from the lower platform interface and faces.
- Export to Photos and watch the final file muted.
CapCut’s official help notes that web, desktop, and mobile interfaces all support automatic captions, but options can differ by platform and region.
Method 3: use VEED’s iOS caption workflow
VEED’s iOS instructions use a direct path: open the captions app, tap the central plus button, choose or record a video, select the spoken language, optionally choose a translation language, generate, review, and export. The exported captions are burned into the video.
VEED currently notes that multi-speaker detection is not available in that iOS workflow and points users to the web editor for that need. Test a conversation before relying on mobile for a multi-person project.
Method 4: finish the iPhone video on desktop
For longer videos, many corrections, several languages, or strict brand control, transfer the original file to a desktop editor such as SNAPVID, Premiere Pro, Final Cut Pro, DaVinci Resolve, Descript, or a browser tool.
Use AirDrop, iCloud Drive, a cable, or another approved transfer method. Avoid messaging apps that compress the source. After export, move a test file back to the phone and inspect it in Photos and the destination platform.
Correct subtitles before styling
Review in this order:
- Names, brands, usernames, and domain terms.
- Numbers, prices, dates, and measurements.
- Negations and words that alter the claim.
- Speaker changes and interruptions.
- Cue boundaries, line breaks, and punctuation.
- Font, size, colors, background, and animation.
Styling first makes later corrections slower and can hide dense text. Keep most cards to one or two lines and preserve natural phrases.
Place captions in the iPhone safe area
Vertical-video platforms place controls at the bottom and right side and may add a username, description, or title. Keep essential words near the central lower-middle area without covering the face. Preview in the actual destination app using a private draft when possible.
Use strong contrast over every shot. A white font that works on a dark intro may disappear on a bright outdoor scene. Add an outline, shadow, or solid/semitransparent background instead of changing colors card by card.
Burned captions versus selectable subtitles
Burned captions stay visible on every platform and preserve the design, but viewers cannot disable or translate them. Selectable captions use a separate subtitle track and work better for accessibility, multiple languages, search, and correction without re-rendering.
For important content, keep three files: a clean master, a captioned social master, and an SRT/VTT file.
iPhone subtitle FAQ
Can the Photos app add permanent subtitles?
The Photos app can edit picture and audio, but it does not provide a complete workflow for generating and burning subtitle tracks into an existing video.
Are iPhone Live Captions saved in the video?
No. Live Captions are an accessibility display. They do not change the original media or appear in a shared export.
What is the fastest iPhone method?
For one existing social clip, a dedicated caption app or CapCut is usually fastest. For a recurring brand workflow or long file, desktop correction and style reuse can save more time overall.